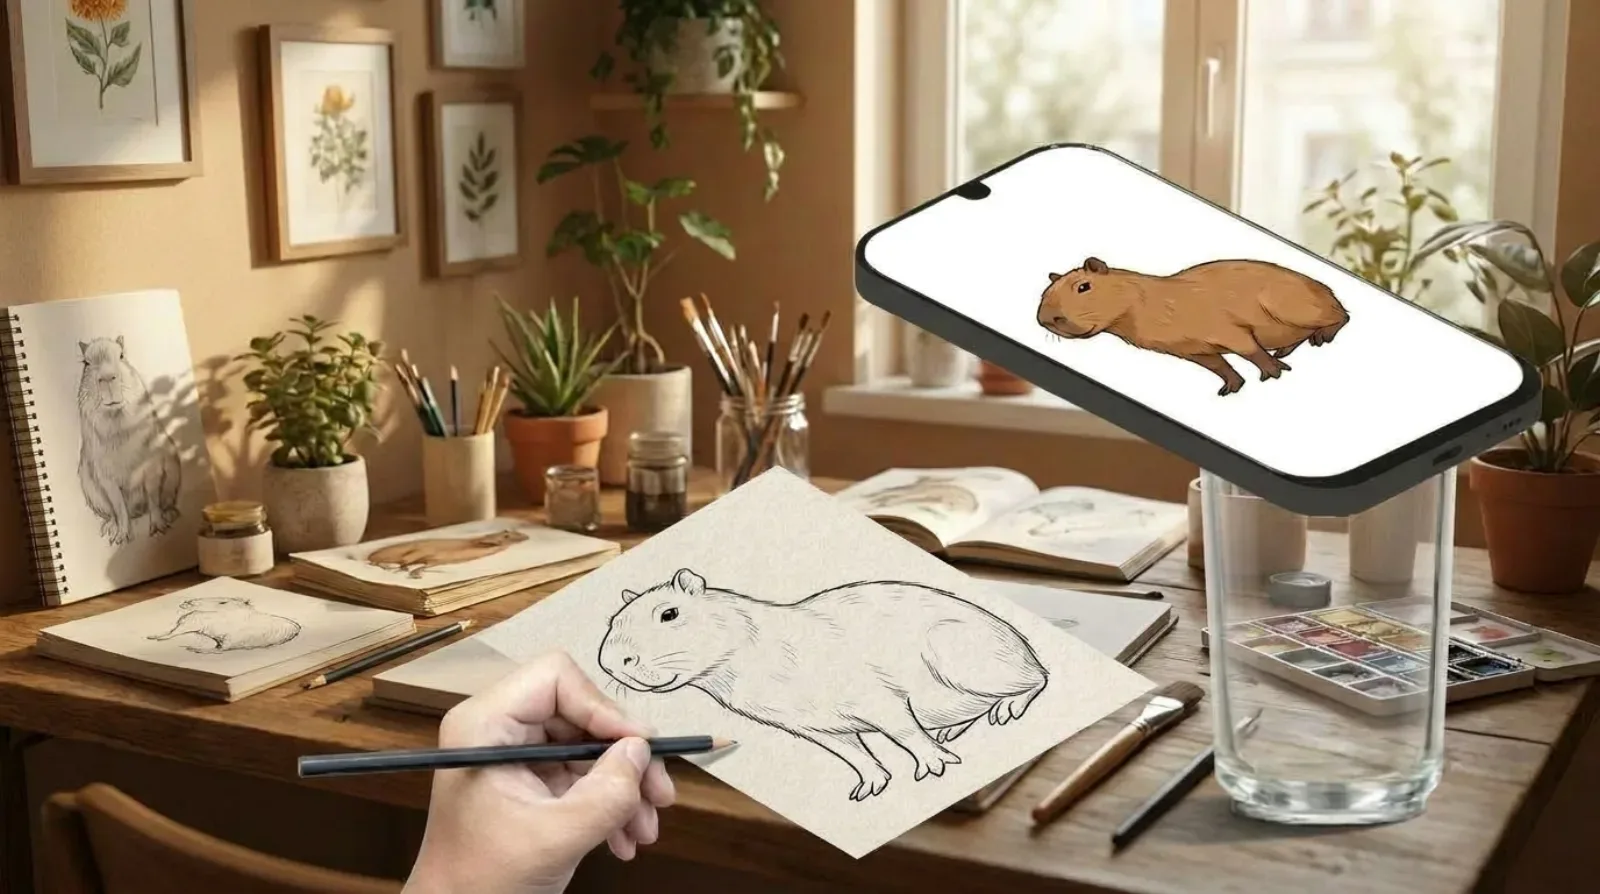
Tracing a drawing onto paper used to mean printing the image, taping it to a window, and squinting at the light. Today, your phone can do the work for you — pick any drawing or photo you'd like to trace, project it through the camera, and draw underneath. Same paper, same pencil, no light pad.
This guide walks through the simplest modern method: an AR overlay app that projects the reference onto your paper through the camera. You see the drawing hovering over the page, you draw, the image stays put. That's it. If you're looking for things to trace, the drawings-to-trace library has 11 step-by-step subjects ready to go.
What you’ll need
- A phone with a camera (iPhone or iPad works best for AR overlays).
- A flat surface — a desk or table, not your lap.
- Paper of any kind. Printer paper is fine to start.
- A pencil. HB or 2B is a safe default.
- Decent lighting. Side light from a window beats overhead light.
A phone stand or gooseneck holder makes a huge difference, but it's not required for your first try. You can prop the phone against a stack of books at first.
1. Pick a photo
Crop tightly around the subject before you start. A photo with a clear subject and a simple background traces far more cleanly than one full of clutter. If the image is busy, run it through a photo-to-sketch converter first to flatten it into clean outlines.
2. Position your phone
Place the phone above the paper, pointing straight down. Aim for 25–40 cm (10–16 inches) of distance. Closer = more detail visible; farther = the whole image fits on a larger sheet.
3. Project the image
Open your AR overlay app and pick the photo. The image will appear floating over the paper through your camera view. Use one finger to drag it into position, two fingers to pinch-resize, and a two-finger twist to rotate. Lower the opacity until you can clearly see both the projected image and your pencil lines on the paper underneath.
When the image is sized right, lock the position so it can't shift while you draw.
4. Trace the outlines first
Start with the main contours, not the details. Light strokes — you're mapping placement, not committing to lines yet. Work in sections rather than jumping around. If a proportion looks off, it's much easier to fix now than after you've shaded in half the drawing.
5. Build up detail
Once the outlines feel right, darken the lines you want to keep and add interior detail. Step back from the page every minute or two; mistakes that are invisible up close become obvious from a foot away.
That's the whole technique. The AR overlay does the alignment work that artists used to do with a camera lucida or a light table. Your job is just to draw what you see.
Want a full walkthrough of the app, gestures, and AI options? See the ARTrace help guide for tips on workspace setup, AI generation prompts, and troubleshooting.