- Difficulty
- Beginner
- ● ● ○ ○ ○
- Time
- 30–45 min
- From blank page
- Steps
- 9
- Construction → color
- Best for
- Ages 8+
- Kids & adults
Grab these first
A pencil (HB or 2B), an eraser, plain paper, and colored pencils for the final step. That's it — no fancy supplies, no expensive sketchbook.
Want a guaranteed-perfect outline? Open the dog template in ARTrace and project it onto your paper through the AR camera. Your hand does the drawing; the phone holds the proportions in place — a modern camera lucida in your pocket. More to trace once you finish? Browse the full drawings-to-trace library for ideas.

1. Start with one circle
Draw a single circle in the upper-left of your page. That's the head. Leave plenty of room below it — the body and legs need somewhere to go. This is the loosest, most forgiving step in the whole tutorial, so don't overthink it.
2. Drop in the body
Beneath and slightly right of the head, draw an oval — tilted, not flat. Connect it to the head with a soft neck line. These two shapes already decide your dog's pose. Sitting up tall? Lying down? Walking? It's all in the angle of the oval.
3. Block the legs and tail
Use simple cylinders for the legs and a curved line for the tail. No paws yet. No fur. You're shaping the silhouette of a sitting puppy — and right now it should look like a stick-figure dog. That's exactly correct.
4. Ears and muzzle = instant dog
Add two floppy ears at the sides of the head, and a soft rounded rectangle for the muzzle. This is the magic step: the moment your blob silhouette stops looking like a blob and starts looking like a dog.
5. Bring the face to life
Two dot eyes, a triangular nose, a tiny smile. Then divide each paw into three small toes. These are micro-decisions that take 30 seconds — and they're the difference between "generic dog" and "your dog".
6. Commit to a clean outline
Trace over the final shape with one confident line. Then erase every single construction line underneath. Yes, all of them. This is the scariest step and the most rewarding — your dog finally exists on the page on its own.
Construction lines are scaffolding. The clean outline is the building. You don't keep the scaffolding once the building is up.
7. Hint at the fur
Short, directional strokes — never random scribbles. Pull your strokes in the direction the fur grows: down the chest, out along the ears, along the tail. Less is more here. You're suggesting fur, not drawing every hair.
8. Shadows do the heavy lifting
Soft shading under the belly, behind the legs, inside the ears, and under the muzzle. Then a small oval shadow on the ground beneath the dog. Suddenly your puppy isn't floating — it's sitting somewhere real.
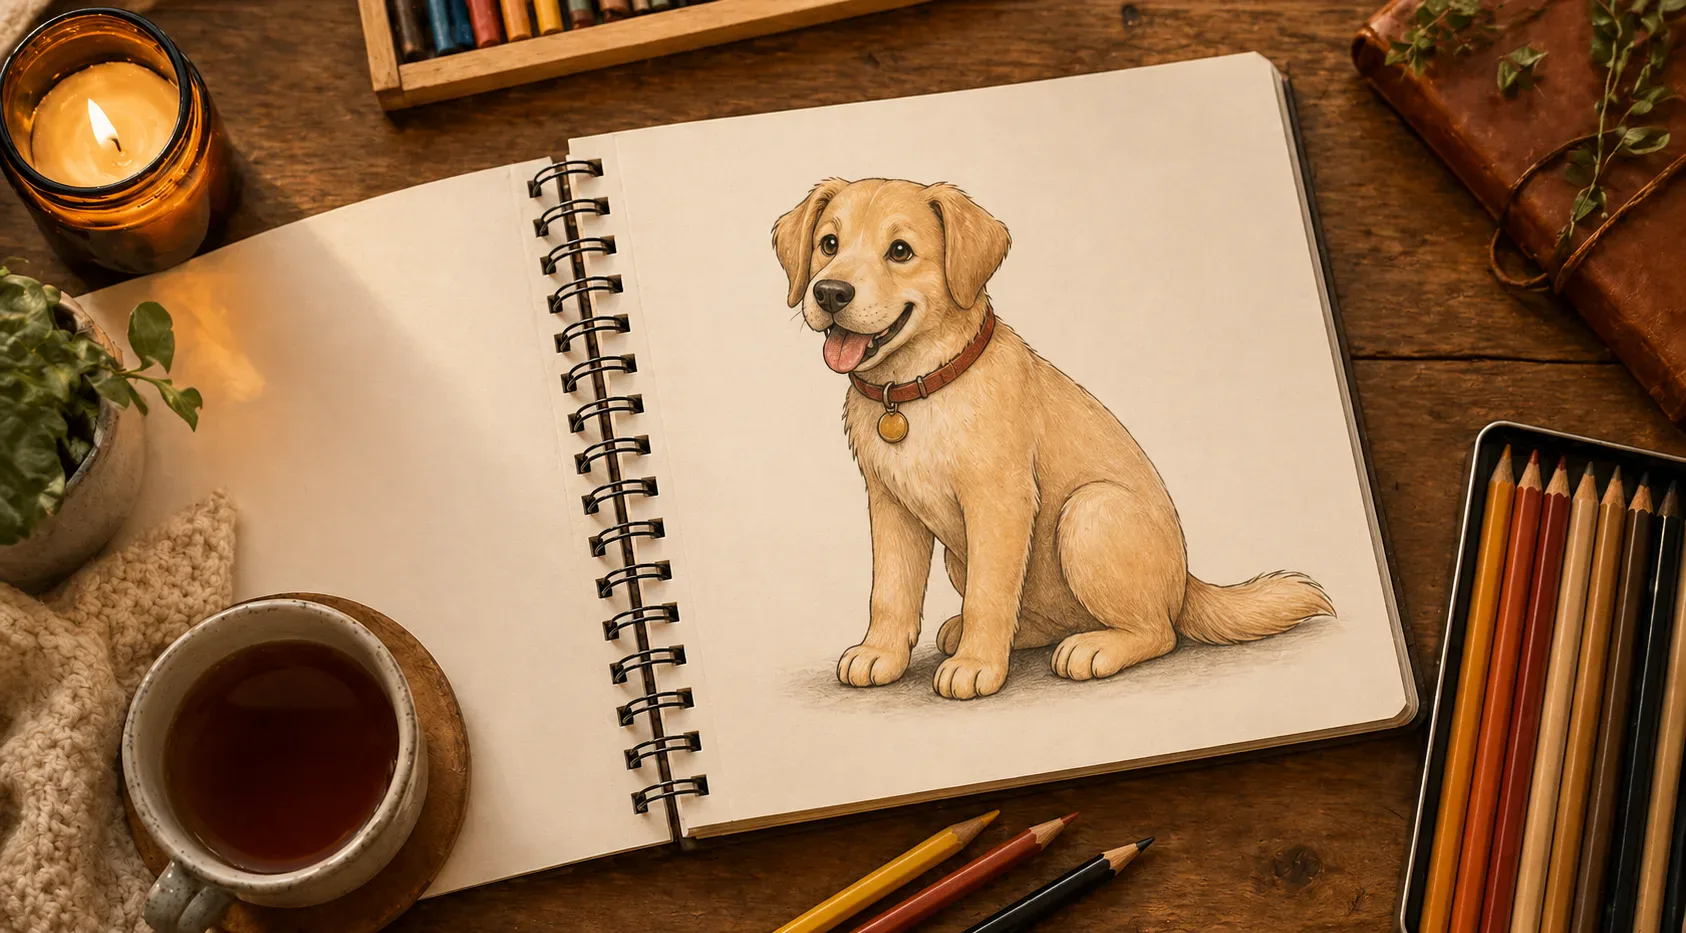
9. Final flourish — color
Lay in the main fur tone (golden, brown, gray — your call). Then color the nose, the inside of the ears, and the eyes. Deepen the existing shadows a touch. Add two or three tiny highlights on the nose and eyes. Sign your name. Done.