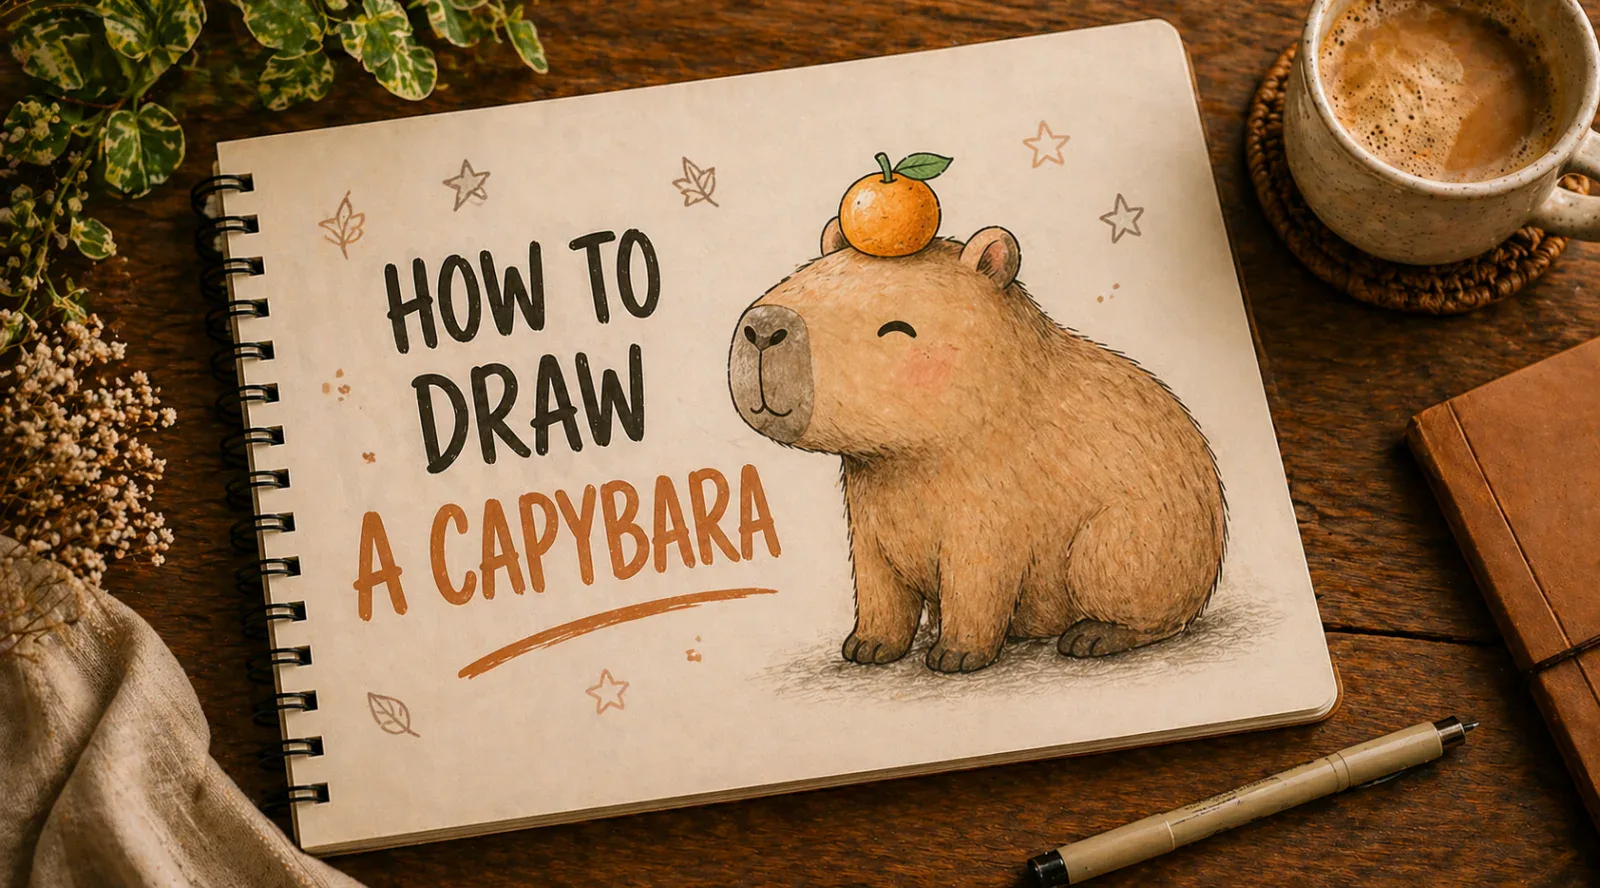
- Difficulty
- Beginner
- ● ● ○ ○ ○
- Time
- 30–40 min
- From blank page
- Steps
- 9
- Two rectangles to color
- Best for
- Ages 6+
- Kids & adults
Grab these first
A pencil (HB or 2B), an eraser, plain paper, and colored pencils — or watercolor if you want that cozy storybook look. A black fineliner is nice for the clean outline in step 5, but not required.
Want a perfectly proportioned capybara on the first try? Open the capybara template in ARTrace and project it onto your paper through the AR camera. Your hand does the drawing; your phone holds the shape in place — a modern camera lucida in your pocket. More to trace once you finish? Browse the full drawings-to-trace library for ideas.
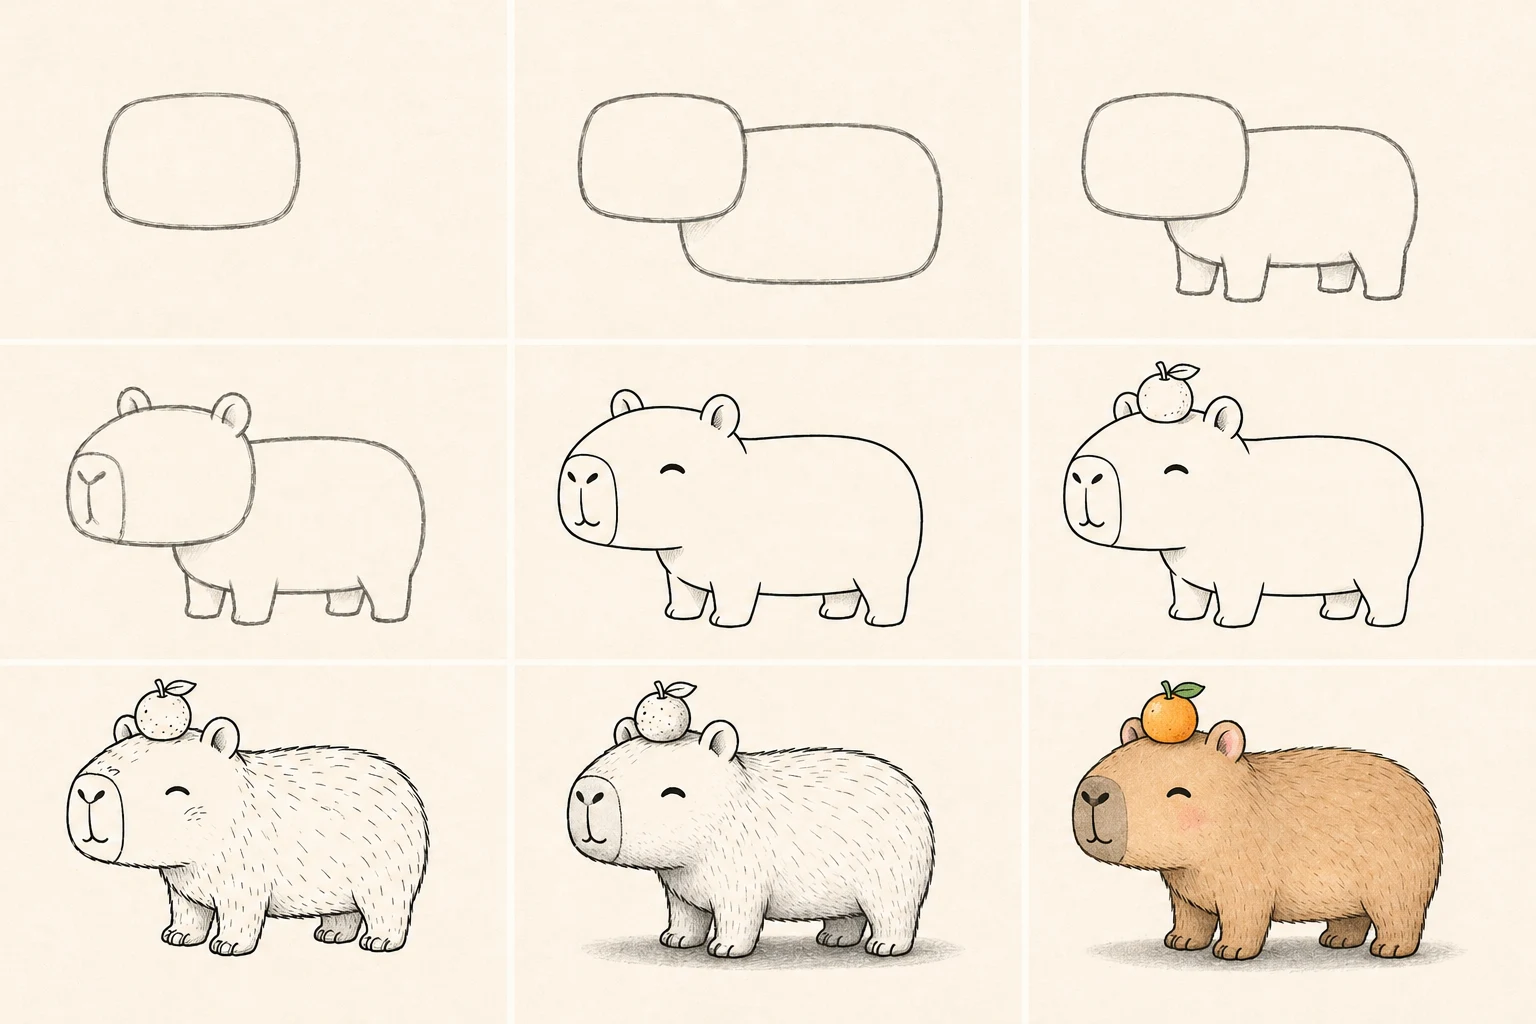
1. Start with the head
Draw one rounded rectangle in the upper-left third of your page. That's the head. Keep your pencil loose and the line light — this is pure construction and you're going to erase it later. Capybara heads are boxy and slightly wider than tall, almost like a soft brick.
2. Add the loaf body
Right next to and slightly below the head, draw a larger horizontal rounded rectangle. This is the body — and capybaras are basically a big loaf of bread with a head attached. If your two shapes look like a sandwich, you're nailing it.
3. Four stubby legs
Under the body, draw four short, stubby legs — two front, two back. Resist the urge to make them long. Capybara legs are tiny relative to the body. Right now you have a four-legged loaf, and that's exactly what we want.
4. Ears, snout, nose — instant capybara
Two small round ears on top of the head. A wide flat snout at the front of the head — capybara snouts are surprisingly wide and slightly upturned. A soft rounded nose at the tip. This is the magic step: your generic blob officially becomes a capybara.
5. Bring the face to life — and commit to a clean line
Tiny relaxed eyes (a simple closed curve works great — capybaras basically always look like they're vibing), a small smile under the snout, and two nostril dots. Then trace over your whole capybara with one confident line and erase every single construction stroke underneath.
A capybara's face is the most relaxed face in the animal kingdom. Don't overthink the eyes — two small curves is plenty.
6. Pop an orange on top
Draw a small round orange right between the ears, with a tiny leaf on top. This is the internet's favorite capybara meme: they're famously unbothered when birds, monkeys, and yes — citrus fruit — pile on top of them at the hot springs. Don't skip this step.
7. Hint at the fur
Short, directional pencil strokes across the body, chest, and cheeks. Follow the direction the fur grows — down along the sides, curving around the belly, tapering toward the legs. Add a couple of separation lines on each paw to suggest toes. A few texture lines on the orange too, so it doesn't read as a ball.
8. Shadows do the heavy lifting
Soft graphite shading under the belly, under the jaw, inside the legs, and a hint of shadow beneath the orange. Then the single most important touch: a clear oval shadow on the ground beneath the capybara. It stops floating. It starts sitting.
9. Warm color — the final flourish
Warm light brown for the fur, a shade darker along the back, a touch lighter on the belly. Dark brown for the nose. Soft pink inside the ears. Then the star of the show: bright orange fruit with a green leaf on top. Deepen the existing shadows a tiny bit, and you're done.